
Set up your creator tools
Install Source 2 Viewer and the community CSDK 12 tools, create your first addon, and learn where your source and compiled files go.
This guide installs the two tools almost every Deadlock mod needs and creates your first addon. Set up mods on your PC first, so you can test what you make: use Deadlock Mod Manager or install mods by hand.
What you need
Deadlock on Steam
latest versionFree disk spaceThe creator tools run on Windows only. Keep Steam open whenever you use CSDK 12. You need free disk space for the tools.
What you will install
Valve has not released modding tools for Deadlock, so creators use two free community tools. Tools overview lists the others.
Source 2 Viewer
Opens the game's files. Previews models, textures, and sounds. Turns compiled files back into files you can edit.
CSDK 12Valve's Source 2 tools, adapted for Deadlock by the community. Compiles your edited files so the game can read them.
Want to try first? Use a browser tool
Two unofficial community tools build simple mods in your browser and give you a ready VPK file:
Deadlock ForgeBy Sirsyorrz. Sounds, hero portraits, ability icons, and item art.
DeadModBy RedMser. Textures. You still need Source 2 Viewer to get the original texture.
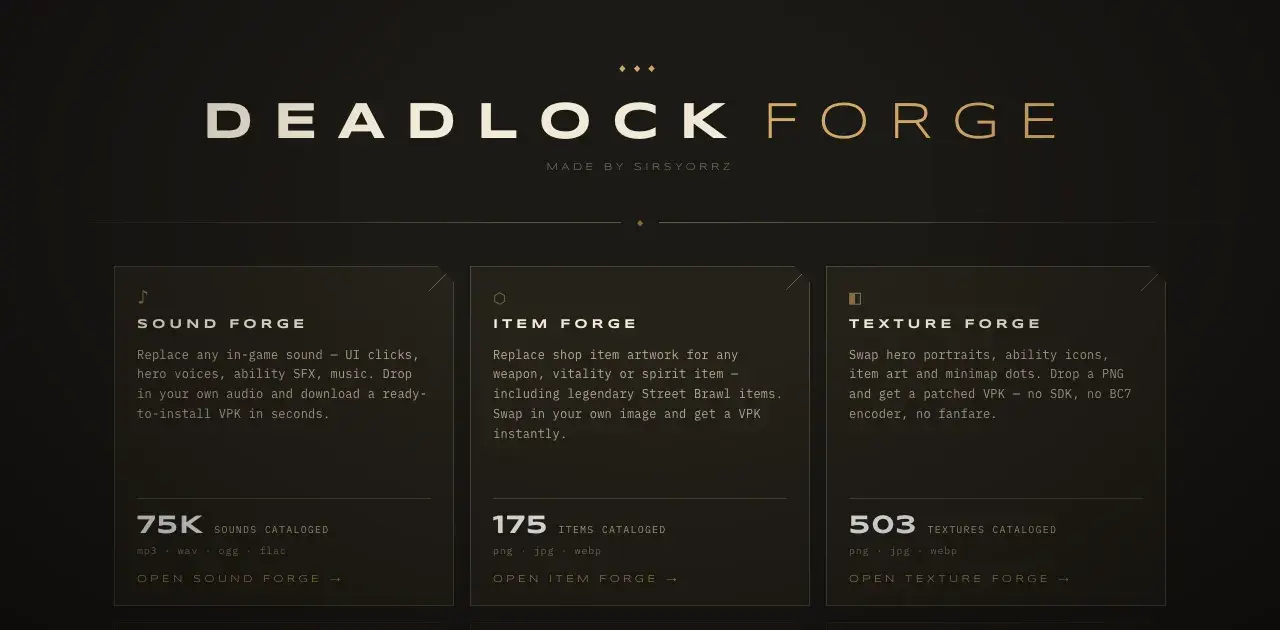
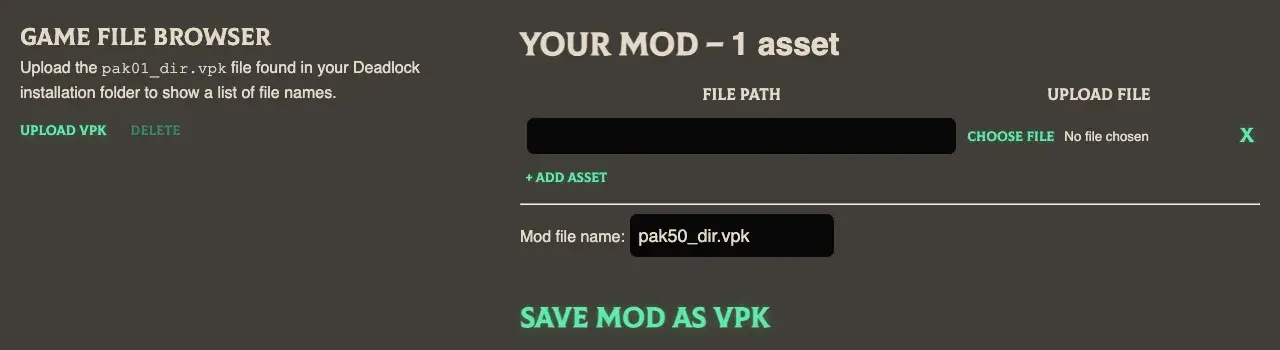
They only cover simple swaps. Install their VPK like any other mod. Make mods without installing tools shows how to use them.
Install the tools
Install Source 2 Viewer
Source 2 Viewer is free and open source (MIT), made by the ValveResourceFormat team.
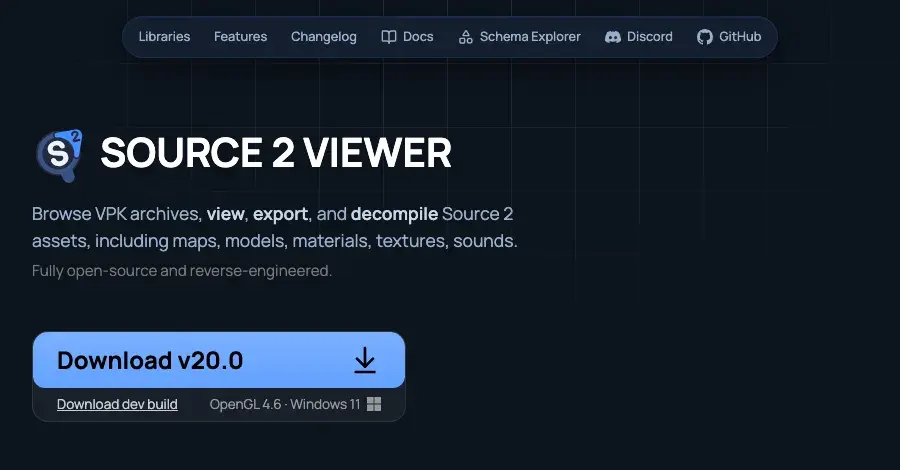
- Open s2v.app in your browser.
- Click Download dev build, the small link under the main download button. Deadlock fixes land in the dev build first, and current guides use it. If you pick the normal release, use version 20.0 or newer.
- Put the download in its own folder. Source 2 Viewer has no installer.
- Open
Source2Viewer.exe.
Install CSDK 12
Valve did not make CSDK 12 and does not support it. It repackages files from Valve's Counter-Strike 2 Workshop Tools with community fixes. Download it only from the community page linked below.
- Open the CSDK 12 page on the Deadlock Modding Notes site.
- Click Download in the Installation section. You get Reduced CSDK 12, which leaves out the full game files. You do not need them for sounds, textures, icons, or models.
- Unzip it to a short path, such as
C:\Reduced_CSDK_12. - Skip the Full Game Files steps on that page. Beginners do not need them.
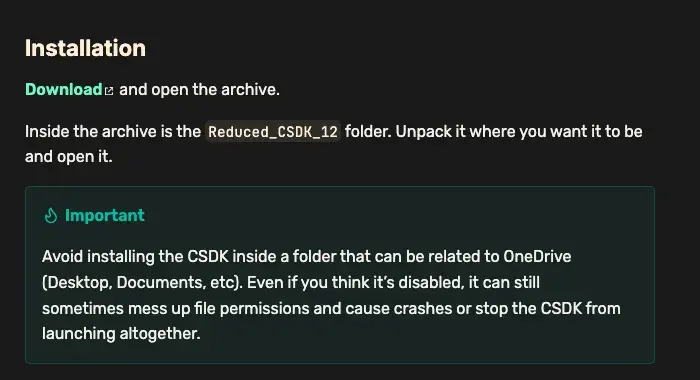
Never unzip it on your Desktop or in Documents. OneDrive often syncs those folders, and that breaks the tools. Keep it out of the Deadlock game folder too: a reinstall can delete it, and it gets mixed up with real game files.
First launch
- Start Steam. CSDK 12 does not open without it.
- Open
csdkcfg.exein yourReduced_CSDK_12folder. This is the launcher, also called the Configuration Tool. - Leave the binary picker in the top left on
bin.
Older downloads used a different launcher name. If csdkcfg.exe is missing, check the CSDK 12 page.
The binary picker has four choices:
| Choice | What it does |
|---|---|
bin | The normal tools. Use this one. |
bin_tools | Previews some particle effects that crash bin, but crashes on some model compiles. Switch back after. |
bin_server | Needs the full game files you skipped. It will not start without them. |
bin_cs2 | Only for compiling maps. |
Leave the No Addon launch option off. That mode can overwrite the tool's own base files.
Create your first addon
An addon is the project folder for one mod.
- Click Create New Addon in the launcher.
- Type a name in lowercase, with no spaces or special characters. Example:
firstmod. - Select your addon in the list.
- Click Launch Tools. A console window opens first, then the Asset Browser.
Right-click an addon in the launcher to see its menu:
| Menu item | What it does |
|---|---|
| Explore Content Folder | Opens the folder for your source files. |
| Explore Game Folder | Opens the folder for your compiled files. |
| Duplicate | Copies an addon, such as a template. |
| Compile All Assets | Compiles every file in the addon. |
| Create VPK | Packs the addon. Pack your mod into a VPK uses a different, tested method. |
| Delete | Removes the addon. |
CSDK 12 also ships template addons, such as a Billy audio template and a hero image template. The first-mod guides show when to use them.
Content folder and game folder
Every addon has two folders inside Reduced_CSDK_12: content/citadel_addons/<addon>/ for the source files you edit, and game/citadel_addons/<addon>/ for the compiled _c files that go in your mod.
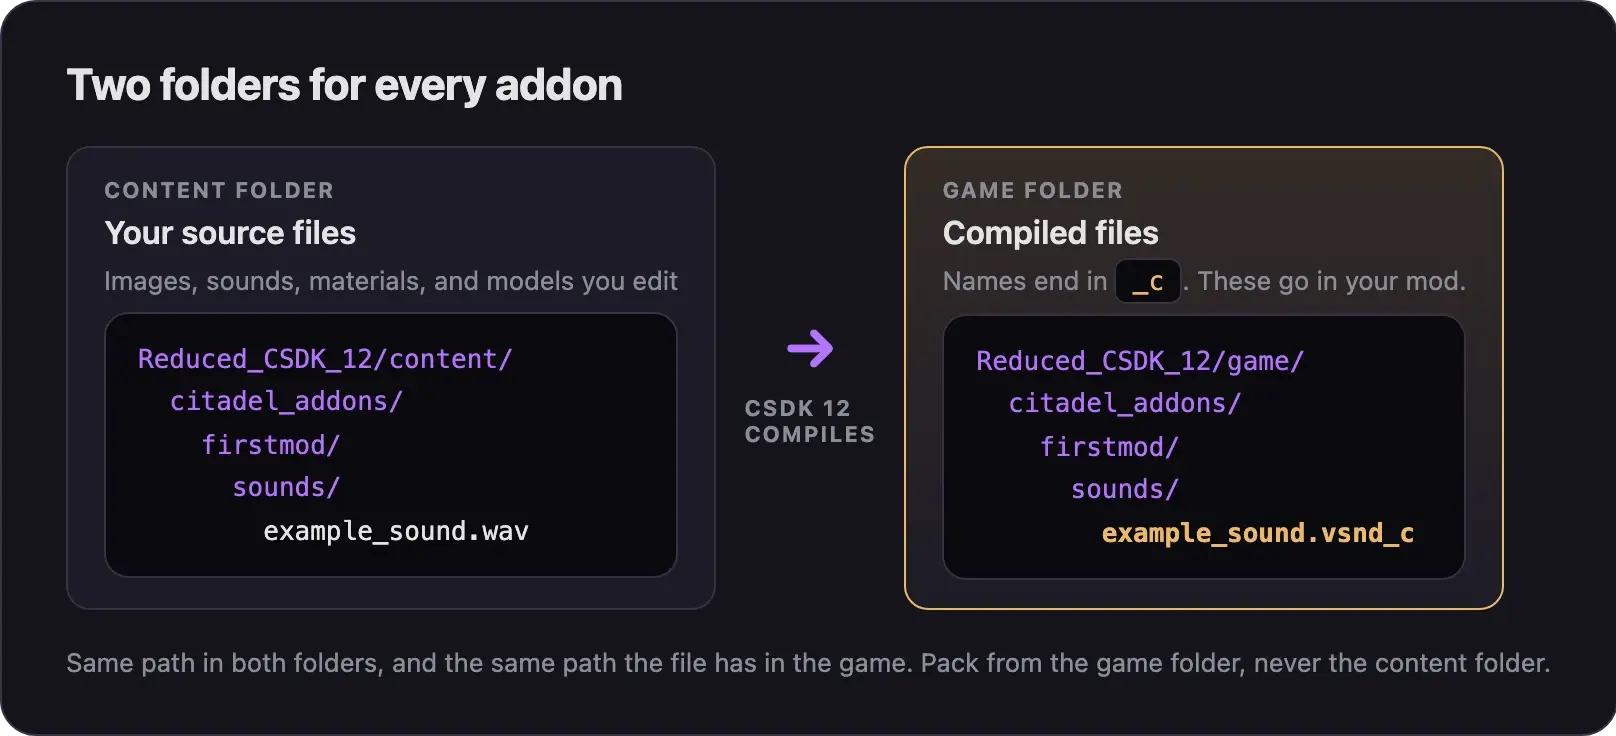
Three rules:
- Put each file at the same folder path it has in the game. A file the game keeps in
sounds/vo/goes incontent/citadel_addons/<addon>/sounds/vo/. - The tools watch the content folder and compile new files into the game folder on their own.
- When you pack a mod, copy from the game folder, never the content folder.
Image and audio editors
Any editor that saves the right file types works. These are free:
GIMPImages. Photoshop works too. Save as PNG, TGA, or PSD.
Free AudacitySounds. Export as WAV or MP3.
Free Notepad++Small text edits in tool files.
Free VS CodeSmall text edits in tool files, if you prefer it to Notepad++.
FreeLater: Blender for model swaps
You do not need Blender for sounds, recolors, or icons. For model swaps, install Blender 5.x and FellOffFuji's BlenderSource2Tools add-on, which exports your model in the DMX format the tools read.
Blender and add-onsDownloads and setup for Blender and BlenderSource2Tools.
LaterQuick check
Test both tools before you start a mod.
- Open Source 2 Viewer and click File, then Open.
- Open
game/citadel/pak01_dir.vpkin your Deadlock folder. In Steam, Manage, then Browse local files opens that folder. - Open only
pak01_dir.vpk. Source 2 Viewer reads the numberedpak01_000.vpkfiles with it. - Expand
soundsorpanoramaand double-click a file to preview it. - Open the CSDK 12 launcher, select your addon, and click Launch Tools.
- Wait until the Asset Browser opens.
If both tools open, you are ready for your first mod.
Common problems
- Your addon is missing from the launcher. The name has a capital letter, a space, or a special character. Rename the folder in both
content/citadel_addonsandgame/citadel_addons. Then click Refresh addons list. - The tools do not start. Start Steam first. Move the
Reduced_CSDK_12folder out of OneDrive folders. - The game will not find a match. Valve blocks matchmaking while tools mode runs. Close CSDK 12 before you queue.
Errors when making mods has more fixes.
Next steps
Make your first mod:
Start here. Swap one ability sound or music track.
Change a hero's colors without painting a texture.
Swap hero portraits, ability icons, and item art.
Want to know how the game loads your files first? Read How Deadlock mods work.
Credits
This guide is based on the work of these creators. Check out their original guides.
- Guide: CSDK 12 from Deadlock Modding Notes.
- Tool: Source 2 Viewer by the ValveResourceFormat team.
- Guide: Neutral's General Guide for Modding Deadlock by Neutraldrift.
- Guide: From Start to Finish (Fuji's Asset Replacement Guide) by Fuji (FellOffFuji).
- Guide: How I Make Shiny Metal Materials by ShockHub.
- Tools: Deadlock Forge by Sirsyorrz and DeadMod by RedMser.