
Hero swap part 2: build the model in ModelDoc
Open the hero model in CSDK 12's ModelDoc, swap in your meshes, and rebuild bodygroups, materials, the ragdoll, and LODs.
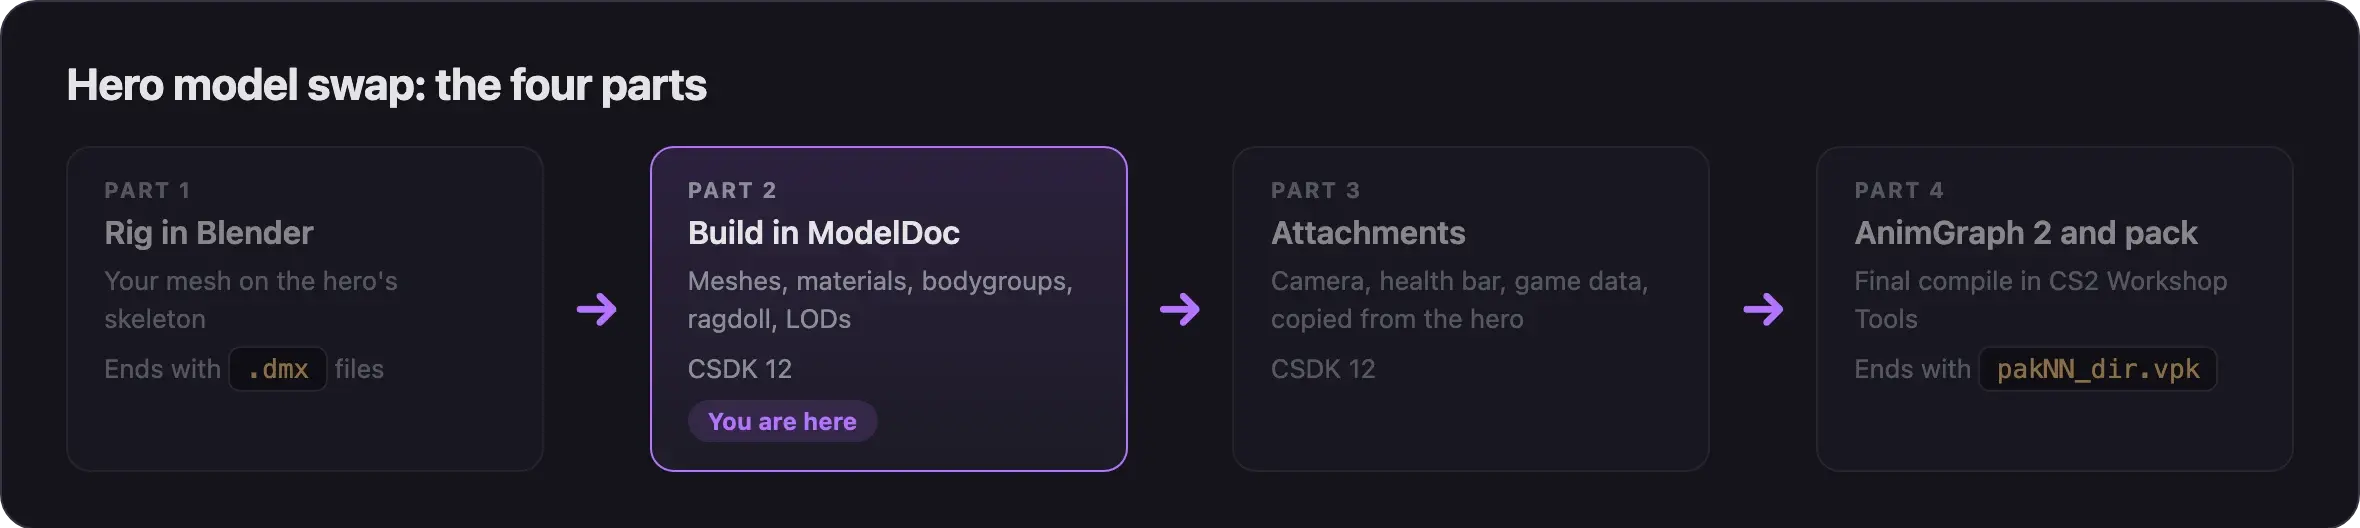
Part 2 of 4. You start with the hero's decompiled .vmdl and your DMX files from part 1. You finish with a model that compiles in CSDK 12, with your meshes, materials, bodygroups, ragdoll, and LODs. The whole path is in Hero model swap: overview.
What you need

ModelDoc in CSDK 12 builds the model. Source 2 Viewer shows the original hero, so you can compare. From part 1 you need your addon: the decompiled viper.vmdl and your DMX files in its dmx folder. The materials step below shows where to make your materials.
Watch the walkthrough
Pugzilla's video swaps the meshes and materials from 23:17. The CSDK 12 addon setup starts at 14:10.
The video does not show the first step below. Pugzilla added it to the video description after a Source 2 Viewer update.
What changes in the model
A hero .vmdl is a tree of nodes. This part replaces some, rebuilds some, and keeps the rest.
| Node | What it holds | In this part |
|---|---|---|
RenderMeshList | The visible meshes | Replace with your meshes, under the same names |
MaterialGroupList | Which material each mesh uses | Point to your materials |
BodyGroupList | Parts that switch on and off | Rebuild with the same names |
PhysicsShapeList | The ragdoll | Rebuild |
LODGroupList | Simpler versions for long distances | Rebuild |
AnimationList | Old-style animations | Delete most entries |
Skeleton | The bones | Keep. Never move or rename bones |
HitboxSetList | Hit detection shapes | Keep exactly as they are |
AttachmentList, GameDataList | Camera points, health bar, sounds | Keep. Part 3 checks them |
NmSkeletonList, AnimGraph2List | Links to the hero's animations | Delete now. Part 4 adds them back |
Build the model
Remove the AnimGraph 2 lines
Source 2 Viewer 19.1 and newer write two animation nodes into a decompiled hero. CSDK 12 cannot read them, so it crashes or refuses to open the model.
- Make a backup copy of
viper.vmdl. - Open
viper.vmdlin your text editor. - Search for
AnimGraph2List. Delete that whole block, from its opening{to its matching}. - Search for
NmSkeletonList. It sat right above the block you deleted. Delete this block too. - Save the file.
Do this even if your build does not crash. It costs nothing, because part 4 adds both back.
Open the model in ModelDoc
- Open the CSDK 12 launcher, select your addon, and click Launch Tools.
- In the Asset Browser, search for
vmdland findviper.vmdl. - Double-click it to open it in ModelDoc.
- Click in the node tree and press Ctrl+A to select every node.
- Press Ctrl+C to copy them.
- Choose File, then New.
- Click in the new node tree and press Ctrl+V.
- Save the new file next to the original as
viper_work.vmdl. - Close
viper.vmdl. From now on, edit onlyviper_work.vmdl.
The fresh file avoids skeleton and physics crashes. The work name also protects the original. Part 4 gives the finished model its real name back. For many heroes, File, then Save As with the work name works too.
Clear out the old meshes
- Open
RenderMeshList. Delete the LOD meshes. Their names contain_lod. - Select the original body meshes and click Disable. You delete them in the next section.
- Open
AnimationList. Delete every entry except the tools preview entry. - Click Compile.
Pocket and Haze need some of these animations for their particles. For them, disable the entries instead of deleting them.
Add your meshes
- Right-click
RenderMeshListand choose Add Meshes. - Pick your DMX files from the
dmxfolder. - Compare your mesh with the hero. It should have the same size and facing.
- Click an original mesh and copy its name, such as
viperorgun. - Delete that original mesh.
- Click your matching new mesh. Its name field reads "Anonymous". Paste the original name there.
- Repeat the copy, delete, and rename for every mesh, then click Compile.
Names matter. Bodygroups and game events find meshes by name. Delete the original before you rename, or ModelDoc reports a name clash.
If your mesh is tiny or turned, fix it in Blender and export again. Do not fix it with ModelDoc's import scale, and never set a DMX scale below 1.
Rebuild the bodygroups
Bodygroups switch parts of the model on and off. The first choice of the default group is the normal look. Other groups react to abilities and game events, such as Pocket's frog. The decompiled bodygroups do not work, so you rebuild them with the same names.
- In Source 2 Viewer, open the original
.vmdl_c. Use its Mesh Group checkboxes to see which meshes show in each state. - Write down every group name and choice name. Decompiled choice names carry a prefix: keep only the part after
#, so a choice ending in#defaultbecomesdefault. - Delete the old
BodyGroupnodes. If ModelDoc crashes, close it, delete theBodyGroupListblock in your text editor instead, and reopen. - Choose Add, then BodyGroup and give it the exact original name.
- Add a BodyGroupChoice under it. Rename it from "anonymous" to the original choice name.
- Click + next to Meshes and add the meshes that show in that state.
- Leave a choice empty if the original shows nothing in that state.
- Click Compile.
Vyper needs little here. Heroes like Pocket have several groups.
Set the materials
- Choose Add, then DefaultMaterialGroup.
- Click Compile. One slot appears for each material name from Blender.
- Fill each slot. To reuse a game material, right-click it in Source 2 Viewer and choose Copy name. Paste it and delete the
_cat the end. - Fill the rest with your own materials. Make them first with Materials for custom models.
- Click Compile. The solid red mesh now shows your materials.
A slot is missing? That material ends in .001 in Blender. Rename it, then export again.
Build the ragdoll
The ragdoll is the body that falls when the hero dies.
- Open
PhysicsShapeListand delete the old shapes. Your originalviper.vmdlstill has them if you need one back. - Choose Add, then Biped Ragdoll. ModelDoc finds the bones by itself.
- Set Surface Property to
flesh. - Click Compile, then Simulate All Physics. Watch the body fall.
- Does it fall wrong? Delete the ragdoll, make a new one, and adjust its shapes.
Make LODs
LODs are simpler copies of your mesh. The game shows them when the hero is far away.
- Choose Add, then LODGroup and add all your meshes. This is LOD 0.
- Duplicate it. Set Switch Threshold to
14, tick Copy and Simplify, and set the target triangle percent to0.5. - Duplicate it again. Set the threshold to
35and the target to0.2. - Click Compile.
You can also model your own LOD meshes. One current mod uses hand-made LODs at thresholds 0, 14, 30, and 50.
Compile and fix errors
- Click Compile.
- Read every error and fix it.
| Problem | Fix |
|---|---|
| The mesh is solid red | Add a DefaultMaterialGroup and fill its slots |
| ModelDoc refuses to rename a mesh | Delete the original mesh with that name first |
| Compile error after a new export from Blender | A collection name changed. Fix the file path on that mesh |
| ModelDoc crashes | See ModelDoc crashes |
Do not test in game yet. Without part 4, the hero stands in an A-pose and does not turn.
Want moving hair or a coat? Add it now with Add cloth to a model.
Next steps
Copy the original hero's attachments, camera previews, and game data so the camera, health bar, and sounds work.
Credits
This guide is based on the work of these creators. Check out their original guides.
- Video: (Read Desc) Deadlock - General Model Swap Steps by Pugzilla.
- Video: Bat Drifter from Start to Finish: Part 1 - Make it exist first, make it pretty later by Basilisken.
- Guide: From Start to Finish (Fuji's Asset Replacement Guide) by Fuji.
- Guide: How to Model Replace for Dummies + Blender Steps by Axelliax.
- Guide: Neutral's General Guide for Modding Deadlock (Models, Textures, Sounds) by Neutraldrift.