
Replace the skybox
Replace the sky over Deadlock's map with your own art, and keep lighting and fog changes out of it so the mod stays fair.
Replace the sky above Deadlock's map with your own art. You use the same steps as a texture mod, so read Retexture a hero first.
Nobody has published a how-to for Deadlock sky mods. This page shows what we know. Steps we could not check yet are marked as untested.
What you need

Source 2 Viewer finds the sky files and decompiles them. CSDK 12 compiles your new sky. Use sky images you made or have permission to use.
What a sky mod may change
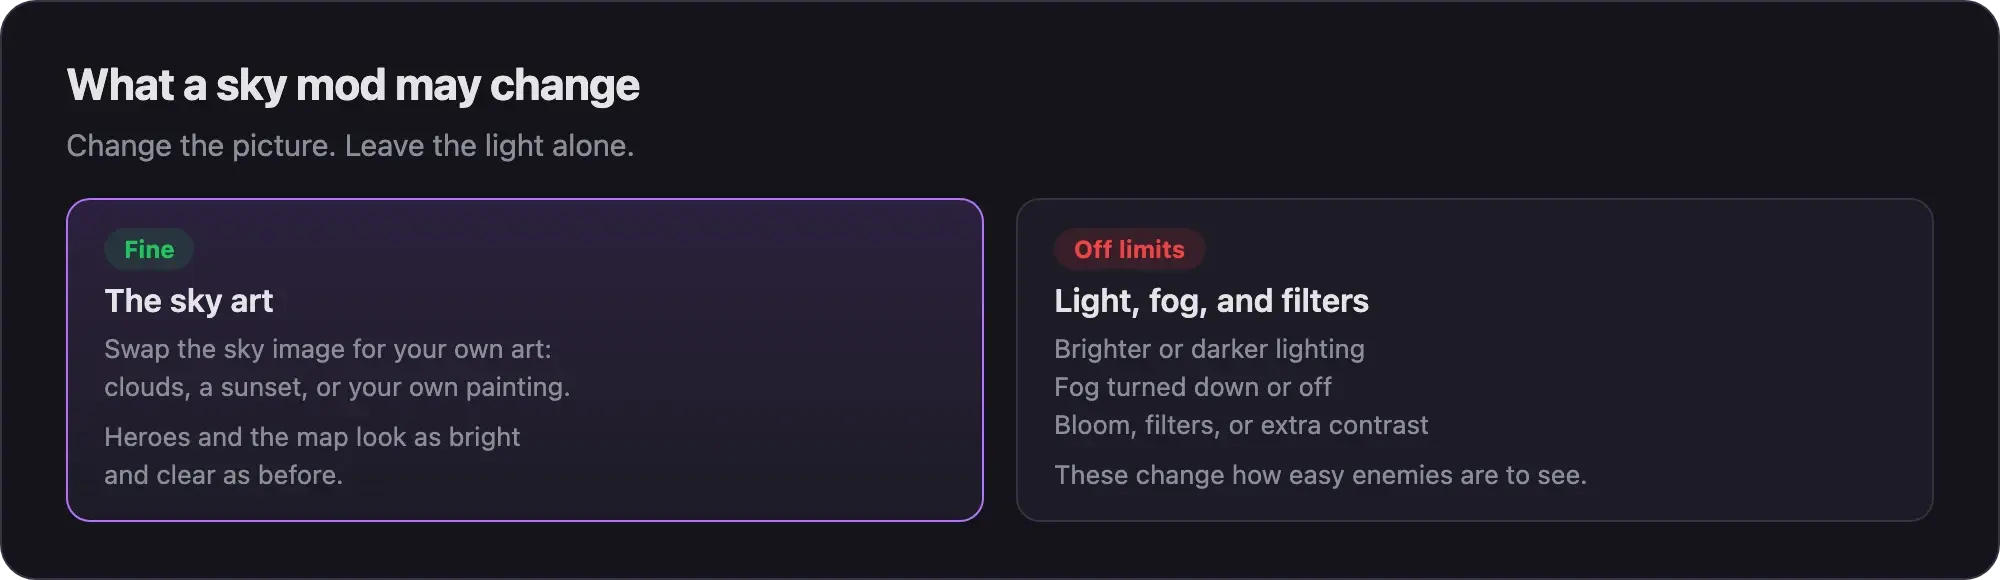
A sky mod swaps the picture above the map. Mods are client-side, so only you see the new sky.
Keep the light the same. Brighter or darker lighting, less fog, bloom, and extra contrast all change how easy enemies are to see. What's allowed and how to stay safe lists these as mods we never cover.
Some "map" mods for Deadlock are really lighting or night mods for the main map. This guide does not cover them.
Make the sky mod
Find the sky files
Our notes do not name the sky files on the current build. The fastest way to find them is to look inside a sky mod that already exists.
- Pick a sky mod you downloaded. Use it to learn the paths only. Do not reuse its art.
- Open its VPK in Source 2 Viewer.
- Write down every file path inside. These are the files a sky mod replaces.
- Open
Deadlock/game/citadel/pak01_dir.vpkin Source 2 Viewer and look for the same paths. - If they are not there, open the main map file,
game/citadel/maps/dl_midtown.vpk, and look there.
Older sky mods may use paths from before recent game updates. Check that each path still exists today.
Replace the images
These are the normal texture steps. We have not tested them on a sky yet.
- Create a CSDK 12 addon. Use a lowercase name with no spaces, for example
mysky. - Decompile the sky file into
content/citadel_addons/mysky/, at the same path as in the game. - Open the sky image in your image editor. Note its size and layout.
- Put your art in its place. Keep the same size and layout, and keep it about as bright as the original.
- Save it with the same name, over the decompiled image.
- Click Launch Tools for your addon. In the Asset Browser, right-click the sky file and choose Recompile, then Full.
- Find the compiled
_cfiles ingame/citadel_addons/mysky/.
If the sky is a material, ship the new .vmat_c and the new .vtex_c files it points to. A compiled material names its textures with a hash, so the old texture name will not work.
Pack and test
- Copy only the compiled files you changed into a staging folder, with the same paths.
- Pack the folder into a VPK. Follow Pack your mod into a VPK.
- Load the main map on your own PC with
map dl_midtown. Test your mod in game shows how. - Look up and check the new sky.
- Compare with the normal game. Heroes, walls, and the ground should look as bright as before.
If your mod has to carry a copy of the map VPK, it counts as a map mod. Map mods can stop you from loading the normal map or joining matchmaking. Test this before you share it.
Common problems
- The sky does not change. Your path or file name is different from the original. Check every letter against Source 2 Viewer.
- The map looks brighter or darker. Remove every file that is not sky art. If it still looks different, do not share the mod.
- It worked before an update. Game updates can move or change files. Find the sky files again and check the paths.
Next steps
Divine is adding Deadlock mods. When they arrive, you'll publish yours from the Creator Panel.
Credits
This guide is based on the work of these creators. Check out their original guides.
- Mod: Skybox Replacement by HyperLine.
- Guide: CSDK 12 from Deadlock Modding Notes.
- Tool: Source 2 Viewer by the ValveResourceFormat team.
- Data: GameTracking-Deadlock by SteamTracking, for the map file names.